


Install Hugo
Hugo comes in two versions: a standard one and a so-called "extended" one. Here, we need the extended version.
Before you start, please check that Git is properly installed and set up.
MacOS & Linux
Make sure you have Brew installed. Then, to install Hugo. Brew automatically installs the "extended" version:
brew install hugoWindows
- Install the ZIP file of the latest
hugo-extendedrelease for Windows from this repository (scroll down to "assets") - Move the ZIP file and extract its content in the
c:\Hugo\binfolder on your local machine. You should see three new files: Hugo executable (i.e.,hugo.exefile),license.md, andreadme.md. - Add Hugo to your Windows PATH settings by following these steps. Click on
System->Advanced System Settings->Environment Variables. In the User variables section, double-click onPATHand clickNew. Then, type the file pathC:\Hugo\binwhere thehugo.exewas extracted. Click on OK and exit. - Verify if Hugo is installed properly. Type
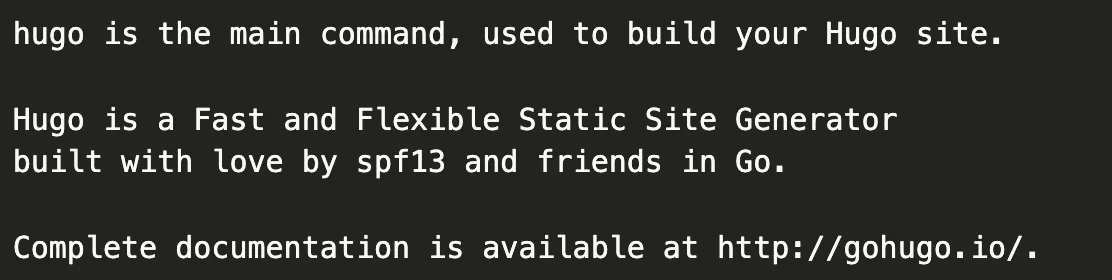
hugo helpon a command prompt window. You should see the following output:
If you use Chocolatey:
choco install hugo-extended -confirmAlternatively, see other installing options here.
Create a New Local Website
You're now ready to start.
To create a new Hugo website, move to a directory of your choice and run:
hugo new site yourwebsitenameWhere yourwebsitename is the name of the folder you've just created. Your entire website will live inside this folder on your computer.
Congrats! In the next sections, you will start tweaking your new website.
 Tip
TipCheck out the Hugo documentation for the official quick start guide.